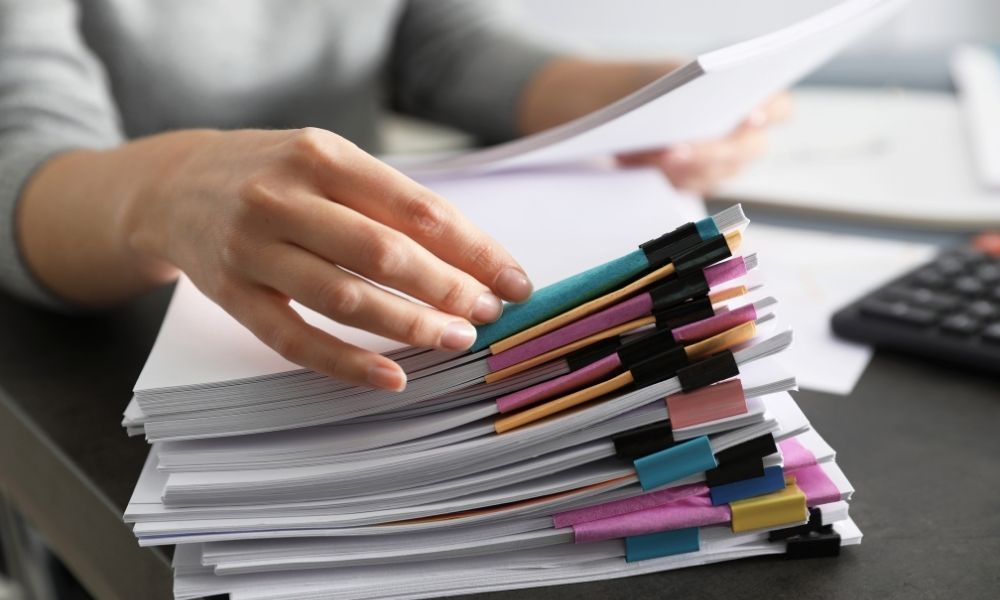
The process of preparing your documents for scanning can be tedious, but it is worth it for the streamlined efficiency of digital documentation. Here are a few steps to follow for how to prepare your documents for scanning.
Separate Your Documents
This step may sound obvious, but you would be surprised by how many documents can stick to one another. The bulk of your preparation time will be used to separate and organize all your documents. Take your time with this step to ensure all papers are separated thoroughly.
Protecting the Scanner
Some documents with staples and paper clips can scratch the scanner if run through the device. While separating your documents, take extra time to remove paper clips and staples from your records. Take care of your papers as well in this stage. Use clear flat tape to handle any rips or tears, and make sure to flatten out any creases or folds for a better scan.
Organize the Documents
Organizing your documents makes the scanning process much more straightforward. Put your documents into piles based on category, height, color, one-sided or double-sided documents, and so on. The more organized your records are, the more painless scanning will become.
Check for Quality
When sorting through your documents, think about how they will look digitally. For example, will a form with sloppy text be legible once you scan it? Or will the record written with a pen low on ink be too challenging to read? Your digital system will need to be able to recognize characters based on image and document quality.
Although time-consuming, document scanning preparation only takes a few steps before you are ready to go digital. Separating, protecting, organizing, and checking for quality are a few steps for how to prepare your documents for scanning successfully. Once your documents are ready, reach out to ScanStrong for premium document scanning services in California.

